There’s a particular kind of heartbreak that comes with pulling a beloved wreath out of the attic in November and finding it squashed flat, faded, or tangled in a nest of ribbon and faux pine. For anyone who swaps decor with the seasons, storage is the unglamorous half of the hobby, and it’s usually the part we figure out last. That’s exactly where these 10 DIY wreath storage ideas for seasonal decor come in.
Wreaths are awkward objects. They’re round, they’re often fragile, they collect dust like nobody’s business, and they refuse to stack neatly the way boxes of ornaments do. Once you’ve spent an afternoon hot-gluing berries and winding burlap, the last thing you want is to undo all that work in the name of saving space. A little planning now means your spring tulip wreath, your fall grapevine, and your winter greenery all survive the off-season without a single bent petal.
The best part is that you don’t need a craft room, a garage wall full of pegboard, or a big budget. Most of these projects use materials you may already have, or can be picked up for a few dollars at a hardware store or thrift shop. Some take an afternoon; others take ten minutes with a hook and a ribbon. Mix and match a few of them and you’ll have a rotation system that makes decorating feel like a treat instead of a rescue mission.
Quick Answer: The most effective wreath storage keeps wreaths upright, supported, and away from heat, moisture, and crushing weight. Hang them from a wall-mounted rack, an over-the-door hanger, or a closet rod with S-hooks, or store them flat in labeled zippered bags, stacked totes with dividers, or under-bed rolling boxes. Whichever method you choose, clean and dry each wreath first, add a label, and never stack heavy items on top. Even two or three of these setups can handle a full year of seasonal decor.
1. Wall-Mounted PVC Pipe Wreath Rack
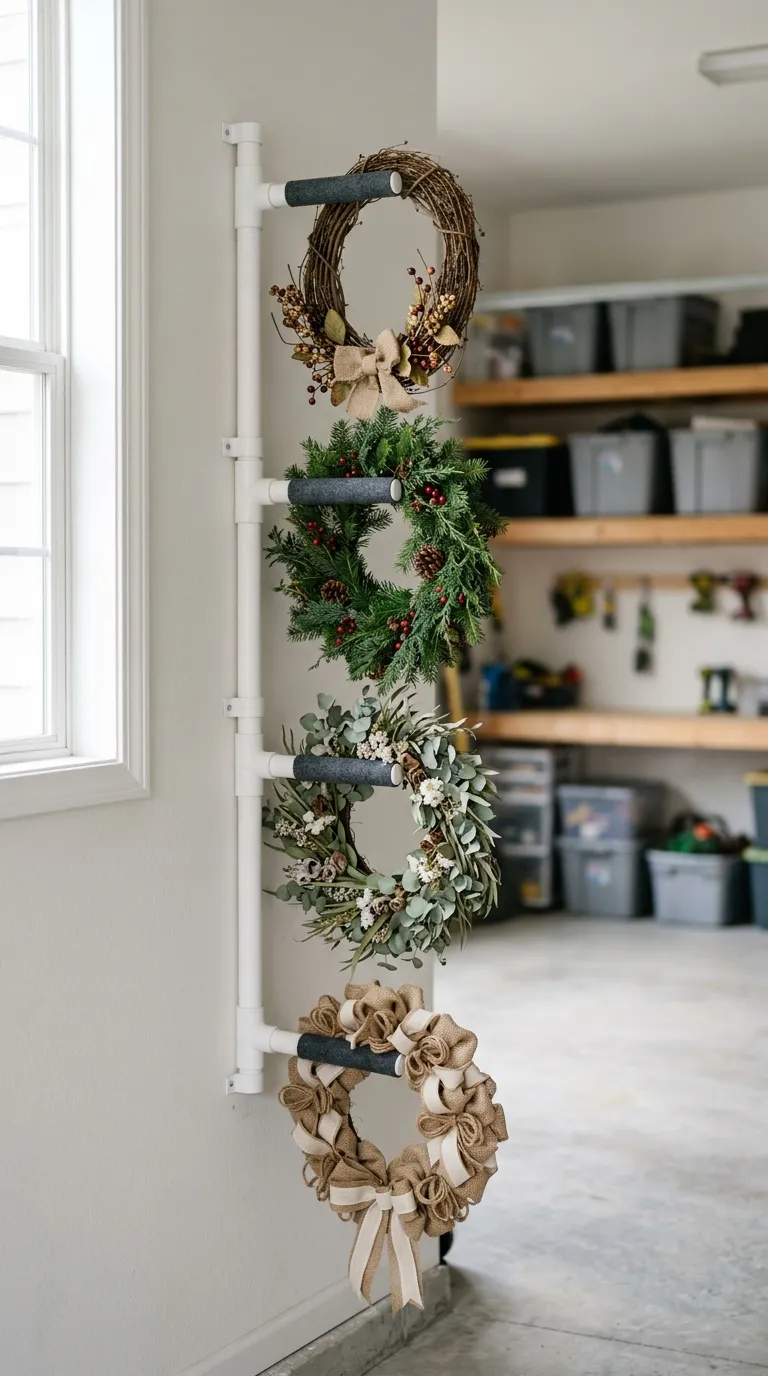
This is the workhorse of wreath storage, and once it’s up, you’ll wonder why you waited so long. The idea is a simple frame of PVC pipe with short arms that stick out from the wall, each one holding a single wreath so nothing touches anything else.
Materials: two lengths of 1-inch PVC pipe for the vertical rails, several shorter pieces for the arms, matching elbows and tee fittings, a pipe cutter or fine-tooth saw, sandpaper, spray paint in a color that suits your space, and heavy-duty wall anchors.
How to build it: Decide how many wreaths you need to hold and cut your vertical rails to fit that height, allowing roughly 14 inches between arms for larger wreaths and 10 inches for smaller ones. Assemble the rails and arms with the fittings, dry-fit everything against the wall first, then sand the cut ends smooth and paint the whole thing. Mount it into studs if you can — a rack full of grapevine wreaths gets heavier than you’d expect.
Time and difficulty: about an hour to assemble and paint, plus drying time. Moderate, mostly because of the measuring.
Cap the ends of the arms with PVC caps or wrap them in felt so wreaths don’t slide off when the door slams. A garage wall, a basement stairwell, or the back of a closet door all work well. If you rent, a freestanding version built on a wooden frame leans against the wall with no holes required.
💡 Pro Tip: Paint the rack the same color as your wall and it visually disappears, which matters if your storage spot doubles as a guest room closet.